How to Conquer the Gauntlet of Shar in BG3
Table of Contents
Baldur’s Gate 3, developed by Larian Studios, offers players a thrilling and challenging adventure through the mystical Gauntlet of Shar. This treacherous temple, hidden beneath a mausoleum in the Shadow-Cursed Lands, holds the key to unlocking the source of Ketheric Thorm’s immortality. Whether you’re playing with or without the character Shadowheart, conquering the Gauntlet is essential to progress through Act 2 of the game. In this comprehensive guide, we’ll walk you through the various trials and puzzles of the Gauntlet, providing valuable tips and strategies to help you emerge victorious.
How to Open the Entrance
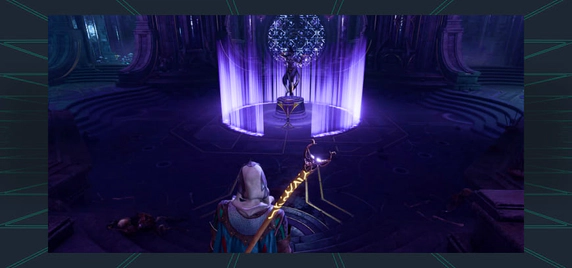 Before venturing into the Gauntlet of Shar, players must overcome a challenging puzzle at the entrance. A statue of Shar, the goddess of darkness, stands at the center of a large room surrounded by glowing purple runes. Trying to advance into the room triggers a repulsion force that pushes players back without causing any damage. Additionally, a magical seal covers the door on the far side of the room.
To solve this puzzle, players should enter the small rooms on either side of the main chamber. It is advisable to lead with a character, such as Astarion, who possesses trap-disarming abilities. These side rooms contain levers that lower two Mystic Thuribles, which are responsible for illuminating the main chamber. By deactivating all eight Mystic Thuribles, players reveal a second set of purple runes that were previously concealed. This enables them to touch the Umbral Gem in front of the statue and open the way forward.
How to Handle Balthazar
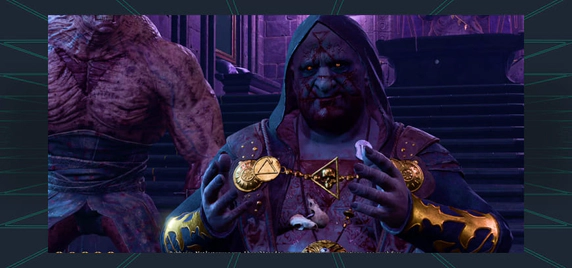 Upon opening the entrance, players will encounter three undead warriors controlled by a necromancer named Balthazar. To complicate matters, Umbral Portals begin to spawn undead Dark Justiciars, who multiply as long as the portals remain open. It is crucial to destroy these portals swiftly to prevent overwhelming numbers of enemies.
Once all the portals and Justiciars are eliminated, players can approach Balthazar, who will open the door to his chamber. Players have the option to cooperate with him, attack him immediately, or even ignore him entirely. It’s worth noting that Balthazar possesses powerful abilities, such as always going first and avoiding surprises. Engaging him in combat requires careful planning and strategy.
After dealing with Balthazar, players should explore the adjacent rooms. The north room houses a challenging lock but offers valuable rewards, while the south room leads to a dining area and a natural cave filled with mushrooms.
The Silent Library and the Spear of Night
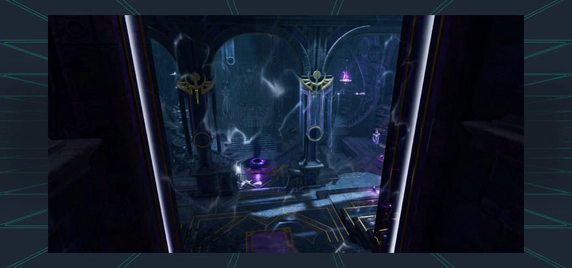 Continuing through the Gauntlet, players will come across the Silent Library, marked by a white magical field in place of a door. Stepping into this library triggers a Silence effect, rendering verbal spells ineffective. Dark Justiciars patrol the area, posing a significant threat.
To lift the Silence effect and halt the spawning of additional Justiciars, players must destroy The Librarian, a special Umbral Portal located at the center of the library. Once The Librarian is eliminated, players can safely deal with the remaining Justiciars.
In the Silent Library, players will find numerous books, but their attention should be focused on the bookshelves. Four bookshelves contain valuable information about the trials in the Gauntlet of Shar. One bookshelf, in particular, provides clues relevant to the library itself.
Beyond the library lies a room with a locked metal portcullis. Solving the Riddle of the Night, “What can silence the Nightsong?”, unlocks the portcullis and reveals a secret door. Players should also check the shelves in this room for spell scrolls. Further exploration leads to an altar holding the Spear of Night and a Dark Justiciar Half-Plate. While the spear may not be immediately useful, the half-plate provides excellent armor for Shadowheart. Additionally, a gilded chest behind the altar contains a rare Dark Justiciar Helmet.
The Faith-Leap Trial
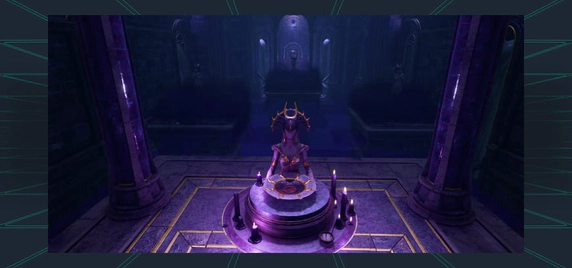 Leaving the Silent Library, players will encounter the Faith-Leap Trial. The book located in the library suggests that players should “Tread only where Lady Shar bids you” to avoid harm during this trial.
To navigate this trial successfully, players should observe the purple blocks visible between the statues in the darkened area beyond the altar. These blocks vanish when approached, so players must remember their locations to traverse the room safely. Stepping into the forbidden areas results in teleportation to the nearest statue base and the loss of a third of the character’s hit points. Three failures in this trial lead to the character’s demise.
The solution to the Faith-Leap Trial can be found in the floor mural in front of the altar. Players should refer to it while advancing but ensure that only one party member enters the darkness to avoid penalties. At the end of the trial, an Umbral Gem awaits, and players can use the Umbral Transporter to return to the altar.
The Self-Same Trial
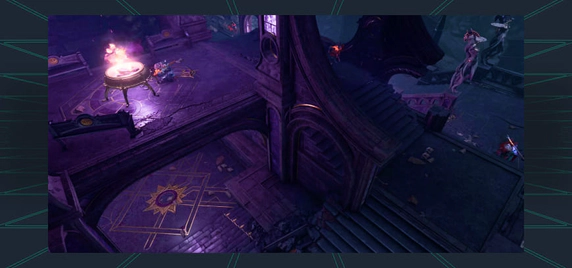 Located in the upper hallway, the Self-Same Trial presents a mirror battle with unique conditions. Upon entering the trial, the party members receive mirror copies of themselves in the arena. These copies are initially hidden and ambush the party when approached. Identifying them requires a keen Perception check.
Each copy possesses the same class levels and equipment as their counterparts but with reduced hit points and a generic set of spells. The book in the Silent Library emphasizes the importance of attacking only one’s own copy. Striking a different copy results in a penalty to all attacks, checks, and saves until the next long rest. Players can gain an advantage in this trial by sending a single party member to surprise their copy.
Once all the mirror copies are defeated, an Umbral Gem appears in the highest spot of the arena. An Umbral Transporter then takes the party back to the entrance.
The Soft-Step Trial
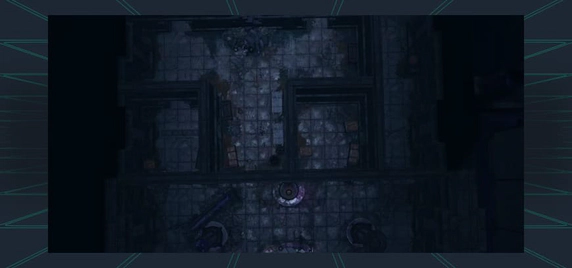 The Soft-Step Trial, found in the upper hallway, challenges players’ stealth and trap-detection abilities. It is advisable to send in a rogue character, such as Astarion, who excels in Stealth and Sleight of Hand. The goal of this trial is to navigate past patrolling observers and a series of marble plate traps.
The trial features levers that control walls and doors, including one accessible through a window. Players can employ various methods to progress, such as using the key found on a table and avoiding traps. At the end of the trial, another Umbral Gem awaits on a Transporter, signifying the completion of this challenge.
How to Deal with Yurgir
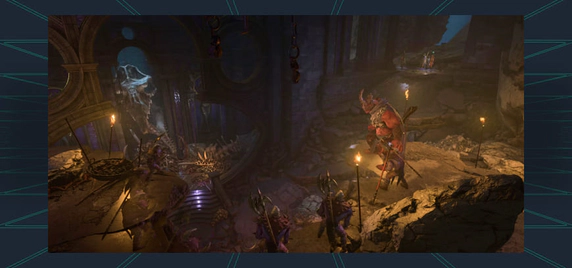 To obtain the fourth Umbral Gem required to access the depths of the temple, players must confront Yurgir, a devil accompanied by several merregons. Yurgir can be found near the base of a broken staircase, but he quickly retreats upon the party’s approach.
Players have two options when facing Yurgir. They can either follow him and engage in combat, or they can choose to talk to him and offer assistance against Raphael. It’s important to note that Astarion may disapprove of the latter option, depending on previous choices made in the game.
To progress in Yurgir’s quest, players must eliminate three rats in separate locations and descend into the pit beneath the giant statue. These rats will attack in waves, but they are relatively weak. Once the last rat is defeated, it transforms into Lyrthindor, a missing Dark Justiciar. Killing Lyrthindor ends Yurgir’s contract and rewards players with the rare Justiciar’s Scimitar and Justiciar’s Greatshield.
With all four Umbral Gems and the Spear of Night in hand, players can return to the Pedestal of Reckoning and access the Ancient Altar beyond. This opens the way to the Shadowfell, where the source of Ketheric Thorm’s immortality awaits.
Conclusion
Mastering the Gauntlet of Shar in Baldur’s Gate 3 is an exhilarating challenge that requires wit, strategy, and perseverance. By following the steps outlined in this guide, players can overcome each trial and unlock the secrets hidden within the temple. So gather your party, prepare your spells, and embark on this epic adventure to secure victory in the Gauntlet of Shar. Good luck, adventurers!


