How to Set Up a Crosshair in CS:GO: Detailed Guide on the Commands
Table of Contents
You can’t play Counter-Strike: Global Offensive without firing a gun, so crosshair adjustments are an important element of the popular shooter. It is impossible to feel comfortable in the game without precise adjustments, because correctly adjusted crosshair helps to improve your quality and increase your number of frags. For this purpose, the game provides the opportunity to customize the crosshair with CS:GO crosshair console commands.

Primary Crosshair Setting
You can configure most of the settings manually in the console window. It is not difficult to open it, any gamer knows it very well. Crosshair commands for CS:GO include:
Every player can choose their best option. The main thing is to correctly spell the command. Also, you can Bind text In CS:GO in the console.
Color Adjustment
In order for the crosshair not to merge with the players, you need to adjust it properly. To this end, CS:GO crosshair color command is written in the console:
However, there are other commands. Entering the combination “cl_crosshaircolor_r 0 cl_crosshaircolor_g 0 cl_crosshaircolor_b 0” will make your crosshair black. The combination “cl_crosshaircolor_r 255 cl_crosshaircolor_g 255 cl_crosshaircolor_b 255” will make your crosshair white.
However, these colors are not ideal for the game. Black is not visible in dark locations, and white merges with almost all bright colors. It is better to use them with an outline.
Adding a Dot to the Crosshair
To add a dot to the crosshair, you must enter the command “cl_crosshairdot 1” in the console. If this function is inconvenient, use the command “cl_crosshairdot 0” to remove the dot from the crosshair.
Adjusting the Crosshair Dimensions
Most gamers choose reticle sizes between 1 and 5. However, there are gamers who prefer a larger reticle size. To do this, you need to use the CS:GO crosshair thickness command, which is “cl_crosshairsize X”.
In this case, X is the thickness of the crosshair.
Adjusting the Outline
If the crosshair merges with the map, you can pick up its outline to make it clearer. CS:GO crosshair styles are used for this purpose:
But you can also set the desired size of the outline. You just need to write the command “cl_crosshair_outlinethickness X” in the console, where X indicates the size itself, which ranges from 1 to 3.
Adjusting the Gap Between the Parts of the Crosshair
Gamers in this shooter use different crosshair settings. Some don’t like the gaps, while others love them. In order for users to feel comfortable when playing the game, it is necessary to configure the parameter using two commands. If you enter “cl_crosshairgap -5”, the crosshair won’t have a gap in the middle. Using “cl_crosshairgap X” you can enter the size of the gap, where X is the gap index.
Non-Console Methods

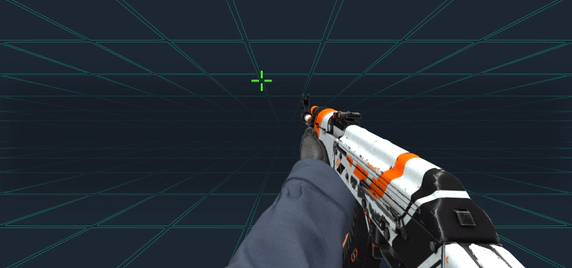
You can also make your own CS:GO crosshair in other ways. One of them is the use of workshop maps, which can be easily found for free online. With the help of such a tool, you can set up the most appropriate type of crosshair without much effort. It is also possible to choose a professional gamer’s sight there.
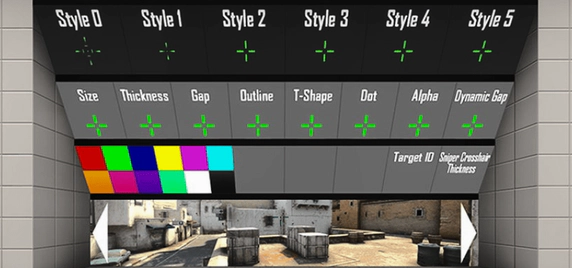
You can use the regular settings of the game. Recently, Valve has provided this option. You need to find a window with the game settings, click on the tab “Game” and click on the section “Sight”. Then, you will open the necessary parameters, which previously had to be entered through the console. You can change the background in the window and see how the sight will look in different locations.
Using the above techniques, any player can adjust the sight at their own discretion to play comfortably and eliminate the enemy. Experts recommend experimenting and changing the settings from time to time to achieve optimal results. This can be done not only through crosshair commands, but also through the settings window. In addition, every player should know how to get an FPS counter, which you can read about in our blog.
